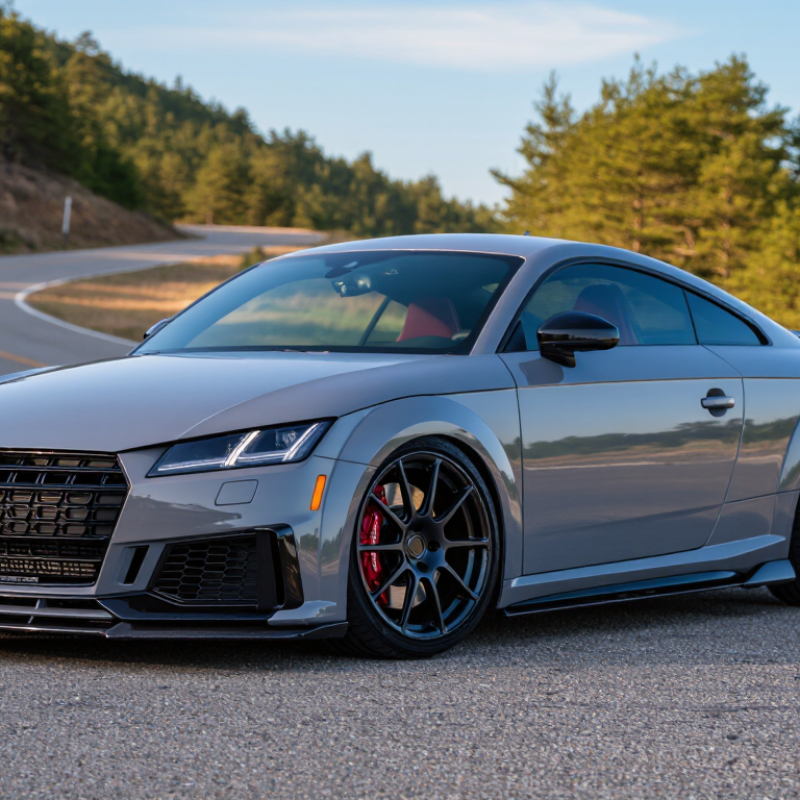
| Tires and Wheel Fitment | Improve grip, steering response, braking stability, and wet-weather control. | Quality road tires, correctly rated wheels, accurate tire-pressure settings, and a four-wheel alignment. | Check bolt pattern, wheel diameter, width, offset, hub fitment, brake-caliper clearance, rolling diameter, and load rating. | 1–3 hours | Low | None, but alignment is strongly recommended after fitment changes. | Avoid excessive wheel diameter or very low-profile tires if comfort and suspension protection are priorities. Inspect for uneven wear and sidewall damage regularly. | High |
| Four-Wheel Alignment | Restore predictable handling and reduce premature tire wear. | Adjustment of toe, camber where adjustable, steering-center position, and thrust angle. | Inspect worn control-arm bushings, ball joints, tie-rod ends, and wheel bearings before alignment. | 1–2 hours | Low | None. | Alignment should be checked after suspension work, curb impacts, unusual tire wear, or changes in ride height. Aggressive settings can reduce tire life. | High |
| Brake Pads and Fluid | Improve braking consistency and pedal confidence for road or occasional track use. | Heat-appropriate brake pads, fresh high-temperature brake fluid, and inspection of discs, hoses, sliders, and dust boots. | Confirm pad shape, disc dimensions, caliper clearance, sensor compatibility, and intended operating temperature. | 2–4 hours | Low to Medium | None. | Use street-oriented compounds for daily driving unless track use justifies a higher-temperature pad. Flush fluid at the interval specified for the vehicle or sooner after repeated high-temperature use. | High |
| Suspension Refresh | Recover original body control, ride quality, and wheel control on older vehicles. | Replacement dampers, upper mounts, bump stops, dust covers, control-arm bushings, and related hardware as required. | Identify the exact generation and suspension package. Inspect corrosion, seized fasteners, springs, subframes, and electronic damping components where fitted. | 4–10 hours | Medium | Alignment required; electronic damping systems may require fault-code checks. | Replacing worn supporting components as a system is usually more reliable than installing only one new part. Recheck fastener torque after initial road testing. | High |
| Lowering Springs | Reduce body roll and alter stance while retaining a relatively simple suspension layout. | Matched lowering springs, revised bump stops if necessary, and a post-installation alignment. | Confirm spring compatibility with engine weight, drivetrain, body style, damper type, and existing ride height. | 4–8 hours | Medium | Usually none, but steering-angle or driver-assistance calibration may be needed on some configurations. | Excessive lowering can reduce bump travel, increase tire rubbing, accelerate damper wear, and make alignment more difficult. Keep adequate suspension travel for road use. | Medium |
| Adjustable Dampers or Coilovers | Provide adjustable ride height and damping for specific road or track requirements. | Matched dampers, springs, top mounts, adjustable hardware, and professional corner-weighting when used for competition. | Check operating range, corrosion protection, spring rates, legal ride-height requirements, tire clearance, and compatibility with electronic damping. | 6–12 hours | Medium to High | No engine tuning; suspension setup and alignment are essential. | Incorrect damping or excessive stiffness can reduce grip on uneven roads. Clean threaded bodies, protect adjustment mechanisms, and inspect periodically. | Medium |
| Anti-Roll Bars | Change roll balance and improve response during cornering. | Matched front or rear anti-roll bars, new mounting bushes, and inspection of end links. | Confirm bar diameter, adjustability, underbody clearance, drivetrain layout, and interaction with the existing spring and damper rates. | 3–6 hours | Medium | None, but handling evaluation and alignment are recommended. | Excessive rear roll stiffness can make a front-wheel-drive car less forgiving, while incorrect preload can create inconsistent behavior. Set both sides evenly. | Medium |
| Engine and Transmission Mounts | Reduce unwanted drivetrain movement and improve shift feel. | New rubber mounts or higher-stiffness mounts, with inspection of brackets and fasteners. | Confirm engine, gearbox, drivetrain, and subframe configuration. Check for contact with exhausts, hoses, and body panels. | 3–8 hours | Medium | None. | Higher stiffness can transmit more vibration and noise into the cabin. Replace cracked or fluid-filled mounts before increasing stiffness elsewhere. | Medium |
| Engine Airflow Components | Improve intake consistency and reduce heat soak without compromising filtration. | High-quality panel filter, sealed intake ducting, heat shielding, and secure clamps. | Check airflow-meter housing diameter, sensor placement, hose routing, emissions requirements, and clearance from hot components. | 1–3 hours | Low | Usually none for a standard replacement filter. Modified airflow-meter housings may require calibration. | Open filters that draw hot engine-bay air can reduce consistency. Maintain proper filtration and inspect clamps to prevent unmetered air leaks. | Medium |
| Exhaust System | Change sound and reduce restriction while retaining acceptable drivability and compliance. | Cat-back components, resonators, silencers, seals, and heat shielding as required. | Verify emissions equipment remains intact, check pipe diameter, oxygen-sensor locations, ground clearance, and noise regulations. | 3–6 hours | Medium | Usually none for post-catalyst changes. Changes affecting emissions monitoring may require calibration and may be illegal for road use. | Excessive noise, cabin resonance, heat transfer, and poor mounting can reduce long-term comfort and reliability. Inspect hangers and joints for leaks. | Low to Medium |
| Engine Calibration | Optimize power delivery for confirmed hardware changes while maintaining safe operating limits. | Software calibration based on measured boost, fuel pressure, intake temperature, ignition behavior, and knock control. | Confirm engine code, fuel quality, turbocharger condition, cooling-system health, clutch capacity, and transmission limits. | 2–6 hours, excluding testing | Medium to High | Required when calibration changes are made; use data logging and independent fault-code checks. | Higher cylinder pressure and heat can increase wear on the turbocharger, clutch, cooling system, and drivetrain. Conservative calibration is generally better for long-term reliability. | Medium |
| Cooling-System Upgrade | Control coolant, oil, and intake temperatures during sustained high-load use. | Fresh coolant, radiator or intercooler improvements where justified, oil cooler provisions, hoses, clamps, and temperature monitoring. | Check available airflow, mounting space, pressure ratings, sensor locations, and compatibility with the original cooling strategy. | 3–10 hours | Medium to High | Calibration may be needed only when airflow, sensors, or engine control strategy are materially changed. | Do not mask a failing thermostat, water pump, radiator, fan, or hose. Bleed the system correctly and verify operating temperature after installation. | High for Track Use |
| Clutch and Drivetrain Capacity | Maintain reliable power transfer after increased torque or severe use. | Clutch inspection or replacement, flywheel assessment, gearbox oil service, driveshaft and joint inspection. | Match the clutch to engine torque, transmission type, flywheel design, hydraulic system, and intended driving conditions. | 6–12 hours | High | Engine calibration should not exceed the verified capacity of the clutch and transmission. | Very aggressive clutch engagement can increase shock loads on gears, differentials, driveshafts, and mounts. Break in new friction components according to the manufacturer’s procedure. | High After Torque Increase |
| Bushing and Joint Renewal | Remove play and restore accurate steering and suspension movement. | Control-arm bushes, ball joints, tie-rod ends, subframe hardware, and wheel bearings where wear is confirmed. | Inspect for cracks, looseness, abnormal tire wear, and corrosion. Use the correct tightening position for bonded rubber bushes. | 4–12 hours | Medium to High | Alignment required; steering or stability-system calibration may be needed if related components are replaced. | Polyurethane or very stiff bushes can increase noise and reduce compliance. Replace parts based on measured wear rather than appearance alone. | High on Older Vehicles |
| Electrical and Sensor Health | Prevent modification-related faults and preserve accurate engine and chassis control. | Battery testing, charging-system checks, connector inspection, sensor verification, and fault-code scanning. | Confirm that modifications do not obstruct sensors, alter wiring protection, or interfere with stability, airbag, or emissions systems. | 1–4 hours | Low to Medium | Use diagnostic procedures before and after installation; clear faults only after the cause is corrected. | Secure wiring away from heat, water, and moving parts. Avoid disabling safety systems to accommodate performance modifications. | High |
| Preventive Maintenance Baseline | Establish a reliable starting point before adding performance parts. | Engine oil and filter, air filter, spark plugs where applicable, gearbox and differential fluids, brake fluid, coolant, belts, hoses, and leak inspection. | Use the exact fluid specifications, capacities, service procedures, and torque values for the vehicle’s model year and powertrain. | 4–10 hours | Low to Medium | None unless a fault or modification changes the control strategy. | Performance parts cannot compensate for neglected maintenance. Record mileage, fluid type, part numbers, fault codes, and measured temperatures. | Highest |
| Long-Term Validation | Confirm that the modification remains safe, legal, comfortable, and reliable over time. | Post-installation inspection, torque recheck, alignment verification, data logging, fluid inspection, and periodic road testing. | Review local roadworthiness, emissions, lighting, noise, ride-height, insurance, and inspection requirements. | 1–3 hours initially, then periodic checks | Low | Repeat diagnostic scans and logs after major calibration or hardware changes. | Monitor oil consumption, coolant level, tire wear, brake temperature, vibration, warning lights, and unusual noises. Stop testing if temperatures or pressures exceed safe limits. | High |